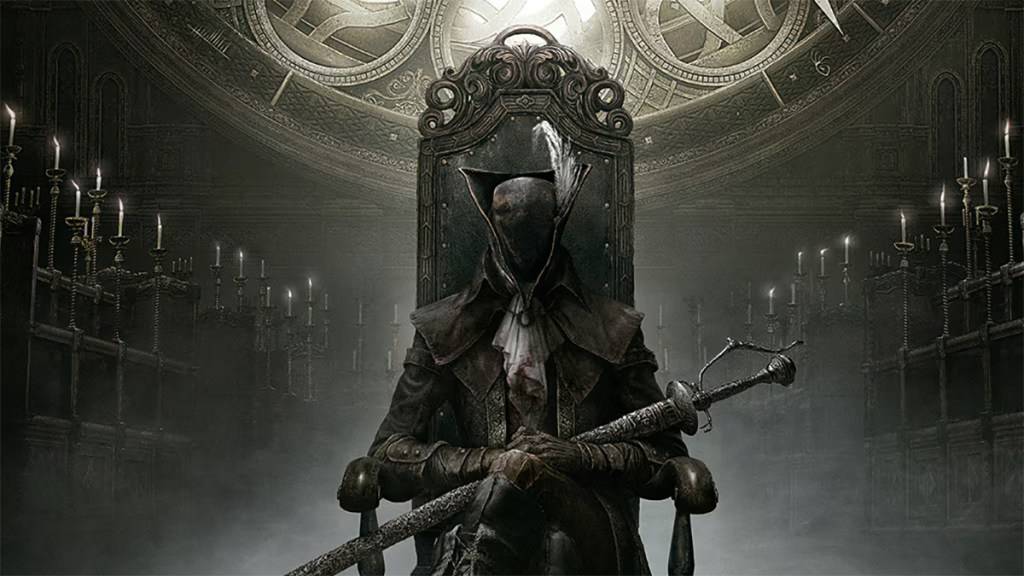
Bloodborne is renowned for its challenging bosses, and understanding the best order to tackle them can significantly enhance your gaming experience. This guide provides a detailed breakdown of the optimal boss order for Bloodborne, helping you navigate the game's challenges efficiently.
Table of Contents
- The Best Boss Order for Bloodborne
- Best Boss Order for Non-Optional Bosses in Bloodborne
- Best Boss Order for All Bosses in Bloodborne
- Our Best Boss Order, Explained
- Cleric Beast (Optional)
- Father Gascoigne
- Blood-Starved Beast (Optional)
- Vicar Amelia
- The Witch of Hemwick (Optional)
- Shadow of Yharnam
- Rom, the Vacuous Spider
- Darkbeast Paarl (Optional)
- The One Reborn
- Martyr Logarius (Optional)
- Amygdala (Optional)
- Celestial Emissary (Optional)
- Micolash, Host of the Nightmare
- The Old Hunters Bosses
- Ebrietas, Daughter of the Cosmos (Optional)
- Mergo’s Wet Nurse
- Gehrman, the First Hunter
- Moon Presence (Ending Specific)
The Best Boss Order for Bloodborne
While Bloodborne does not require defeating every boss to complete the game, doing so can yield significant rewards. We recommend tackling as many bosses as possible during your playthrough. Below, we outline both the non-optional and complete boss orders, followed by detailed explanations.
In total, Bloodborne features 17 regular bosses and 5 additional bosses from the The Old Hunters DLC. This guide focuses on the main game and DLC bosses, excluding Chalice Dungeon bosses. The DLC can be started after defeating Vicar Amelia, though many players suggest waiting until near the game's end for the best experience. Timing the DLC before or after fighting Mergo’s Wet Nurse can impact certain dialogues.
Best Boss Order for Non-Optional Bosses in Bloodborne
Here's the recommended sequence for the non-optional bosses in Bloodborne:
- Father Gascoigne
- Vicar Amelia
- Shadow of Yharnam
- Rom, the Vacuous Spider
- The One Reborn
- Micolash, Host of the Nightmare
- Mergo’s Wet Nurse
- Gehrman, the First Hunter
- Moon Presence (Ending Specific)
Best Boss Order for All Bosses in Bloodborne
For players aiming to conquer every boss, here's the suggested order:
- Cleric Beast (Optional)
- Father Gascoigne
- Blood-Starved Beast (Optional)
- Vicar Amelia
- The Witch of Hemwick (Optional)
- Shadow of Yharnam
- Rom, the Vacuous Spider
- Darkbeast Paarl (Optional)
- The One Reborn
- Martyr Logarius (Optional)
- Amygdala (Optional)
- Celestial Emissary (Optional)
- Micolash, Host of the Nightmare
- Ludwig the Accursed/Holy Blade (DLC/Optional)
- Laurence, the First Vicar (DLC/Optional)
- Living Failures (DLC/Optional)
- Lady Maria of the Astral Clocktower (DLC/Optional)
- Orphan of Kos (DLC/Optional)
- Ebrietas, Daughter of the Cosmos (Optional)
- Mergo’s Wet Nurse
- Gehrman, the First Hunter
- Moon Presence (Ending Specific)
Our Best Boss Order, Explained
Cleric Beast (Optional)
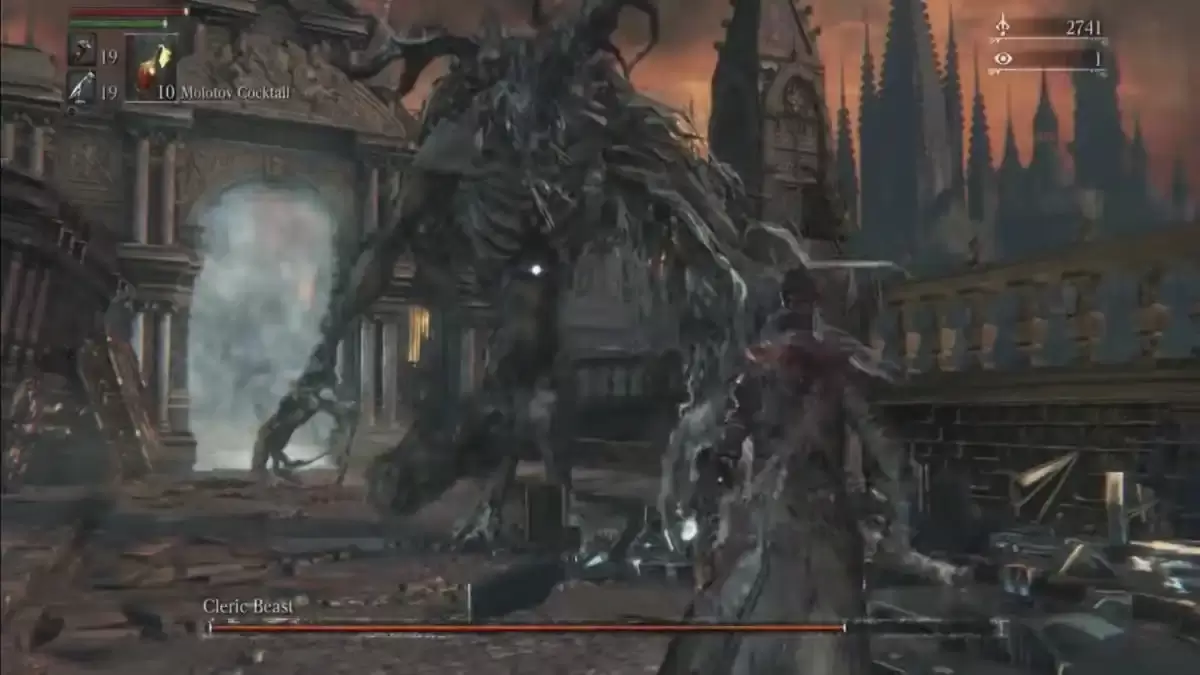
Image via FromSoftware
Area: Central Yharnam
The Cleric Beast is one of the first bosses you'll encounter in Bloodborne, located in Central Yharnam. Known for its speed and aggression, this beast can deal significant damage. To defeat it, position yourself behind it and target its hind legs to cause it to stumble, then attack its head.
Father Gascoigne
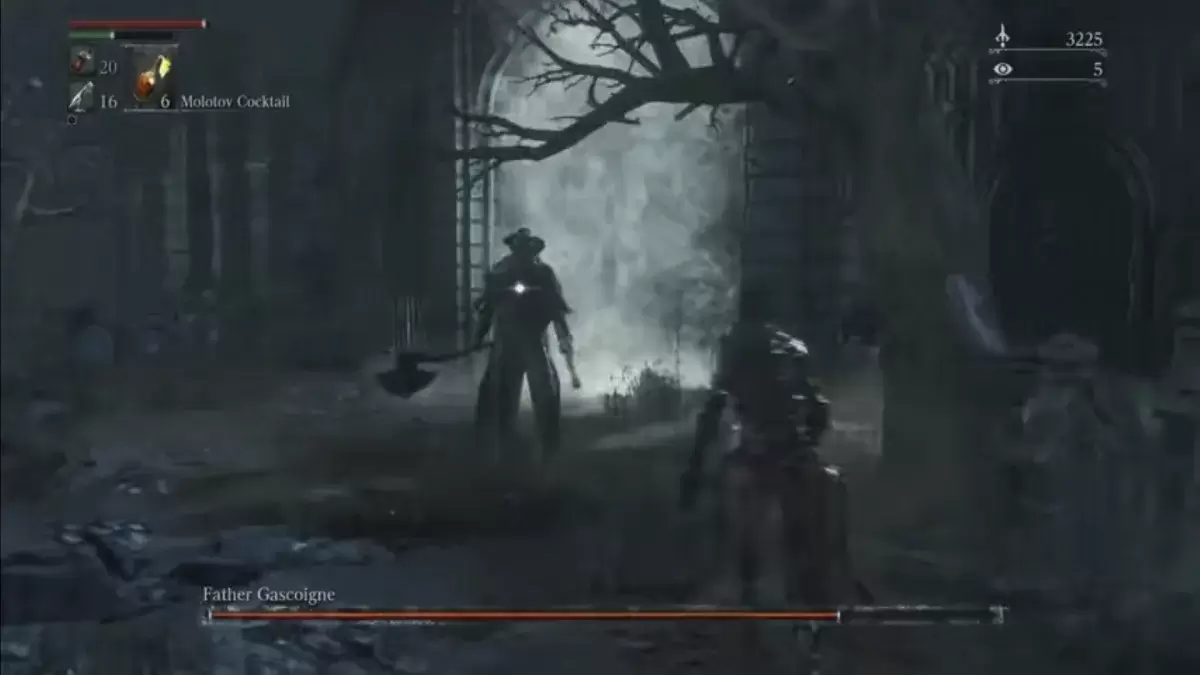
Image via FromSoftware
Area: Central Yharnam
Father Gascoigne, a frenzied hunter, presents an early challenge in Bloodborne. He's quick and frequently uses his gun. Mastering the parry timing is crucial to defeating him efficiently.
Blood-Starved Beast (Optional)
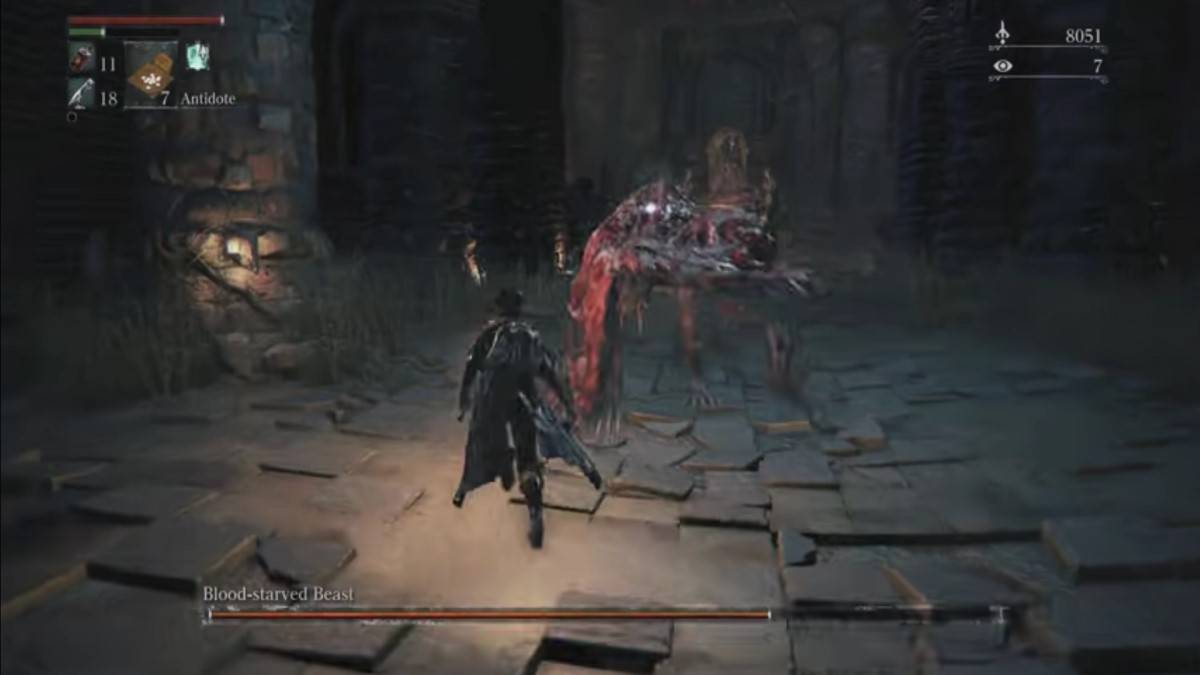
Image via FromSoftware
Area: Old Yharnam
Located in the Church of the Good Chalice in Old Yharnam, the Blood-Starved Beast is formidable due to its high damage and health. Use fire or explosive weapons and keep your distance to defeat it safely.
Vicar Amelia

Image via FromSoftware
Area: Cathedral Ward
Vicar Amelia, a beast-like creature, uses melee attacks and can heal herself, becoming immobile during the process. Attack her when she's healing, but be cautious of her glowing body.
The Witch of Hemwick (Optional)
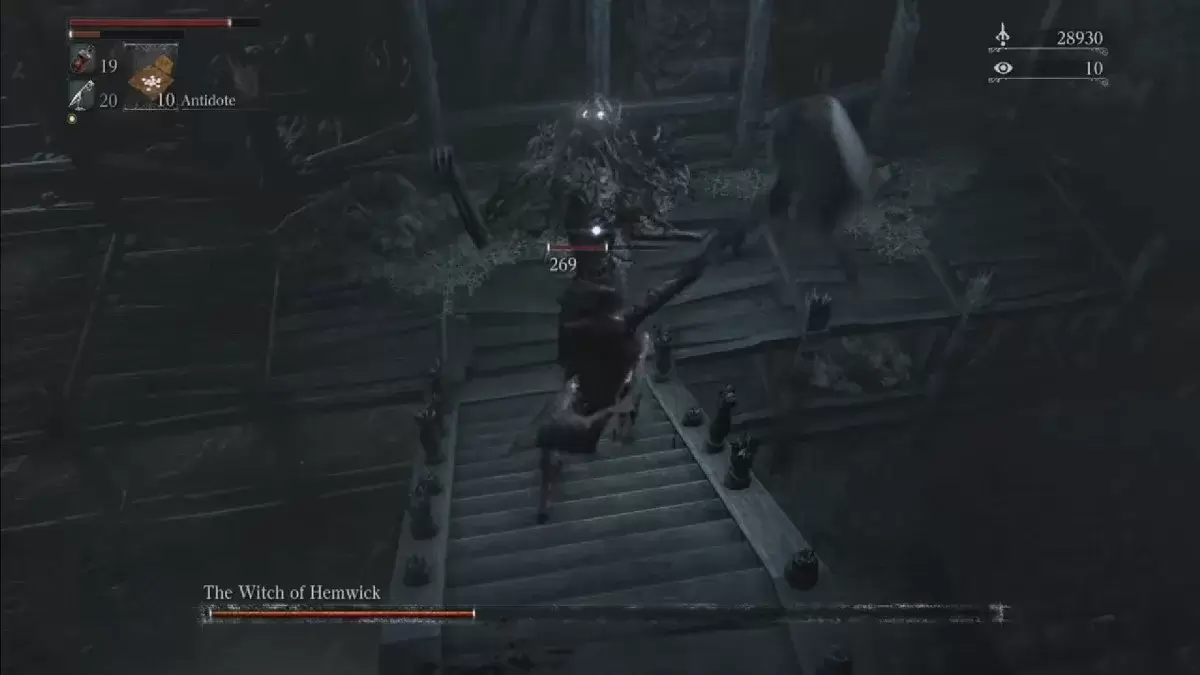
Image via FromSoftware
Area: Hemwick Charnel Lane
The Witch of Hemwick can be tricky as she becomes invisible at a distance. She's often found in corners, and you'll need to use your firearm when you spot her.
Shadow of Yharnam
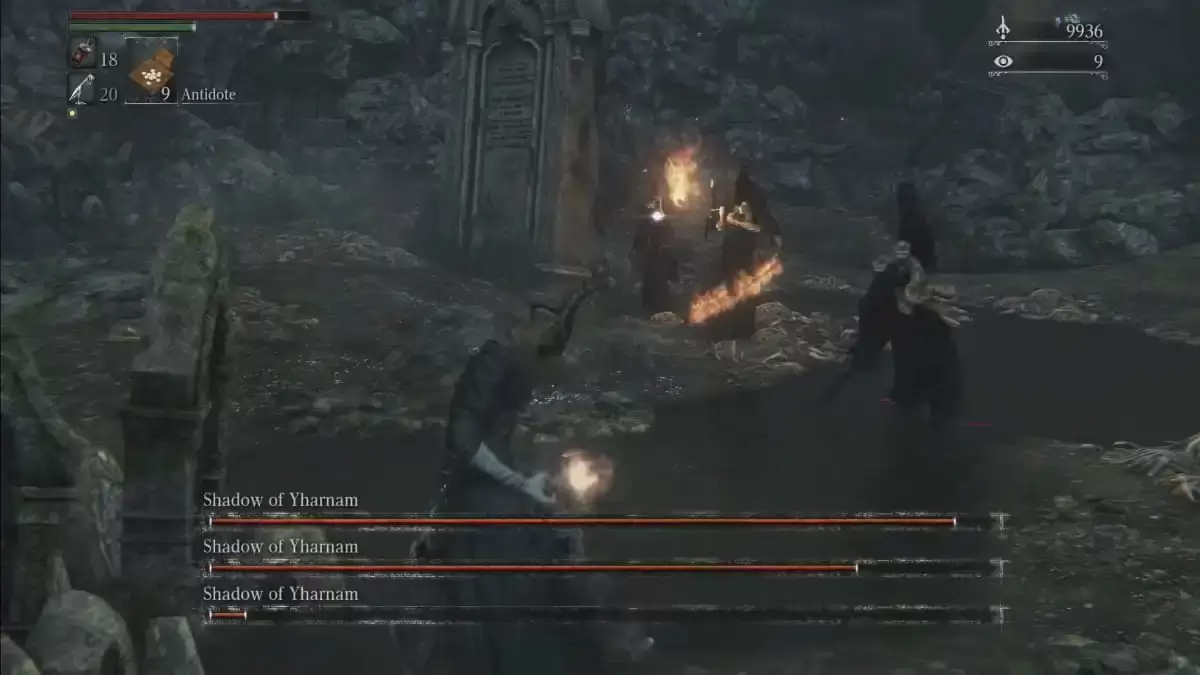
Image via FromSoftware
Area: Forbidden Woods
Shadow of Yharnam wields a large club. Dodge its swings, shoot at its head with your gun, and slash at its legs to make it stumble, exposing its weak underbelly.
Rom, the Vacuous Spider
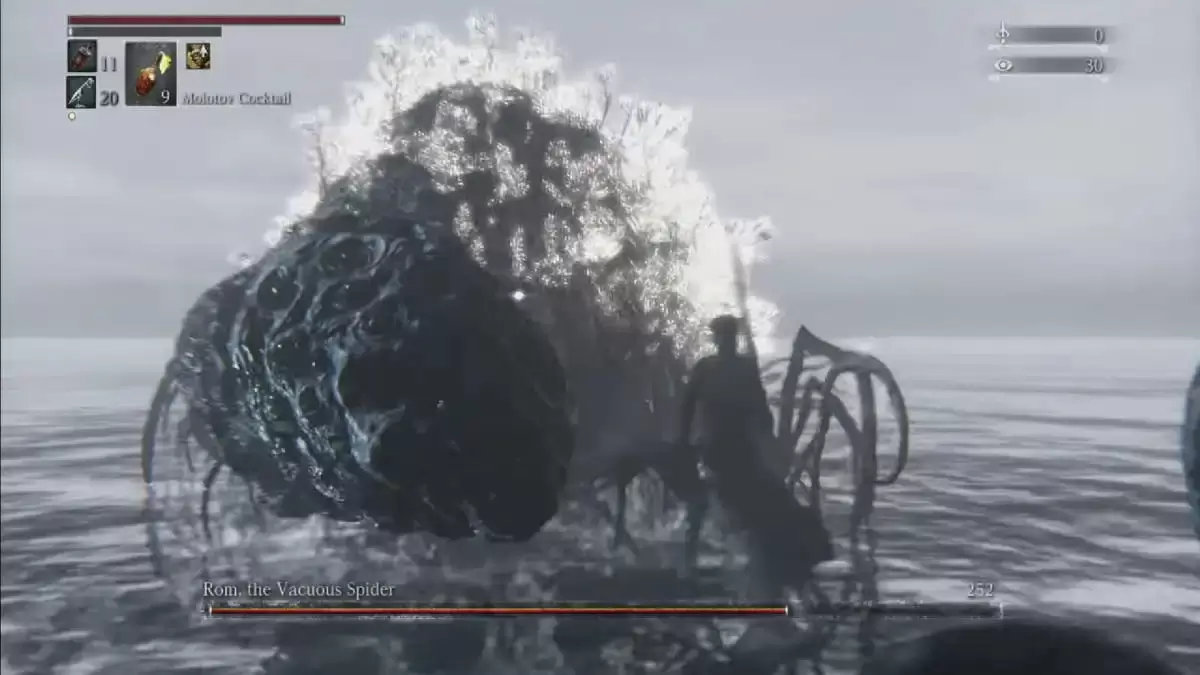
Image via FromSoftware
Area: Moonside Lake
Located at Byrgenwerth's Moonside Lake, Rom uses poisonous and physical attacks, summoning spiders during the fight. Quickly dispatch the spiders to focus on Rom. Be aware that defeating Rom alters the game world, potentially missing certain elements if not previously explored.
Darkbeast Paarl (Optional)
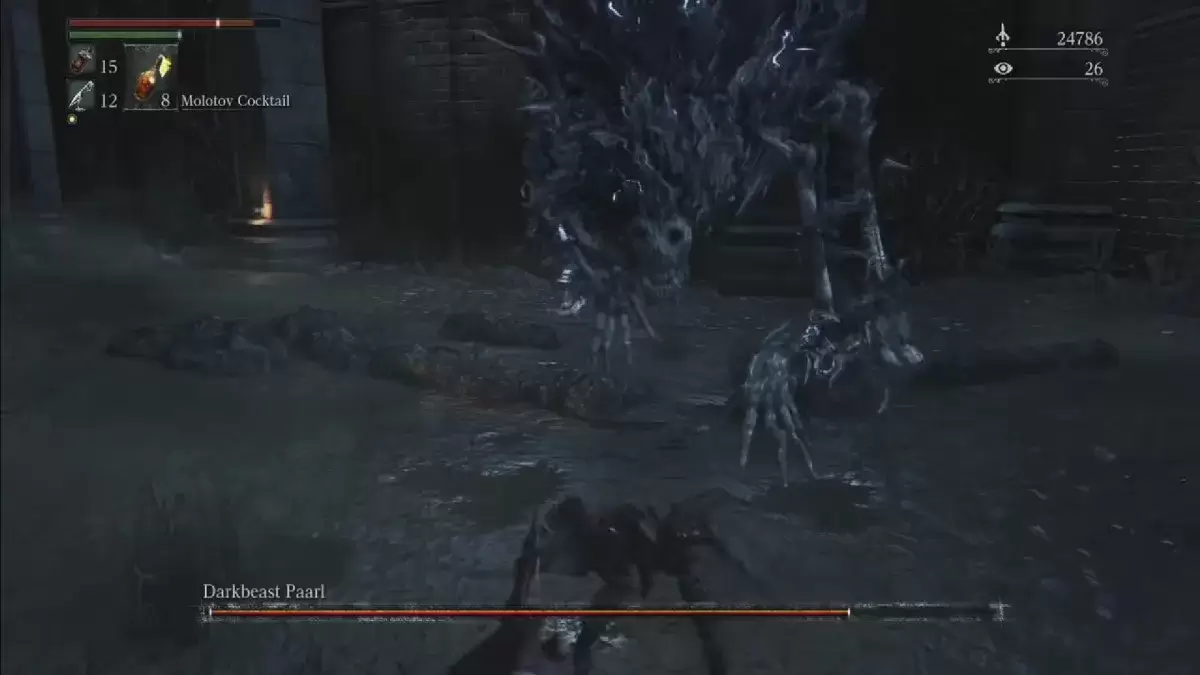
Image via FromSoftware
Area: Hypogean Gaol
Darkbeast Paarl resides in Yahar'gul, the Unseen Village. It's recommended to fight this beast after Rom due to its challenging nature.
The One Reborn
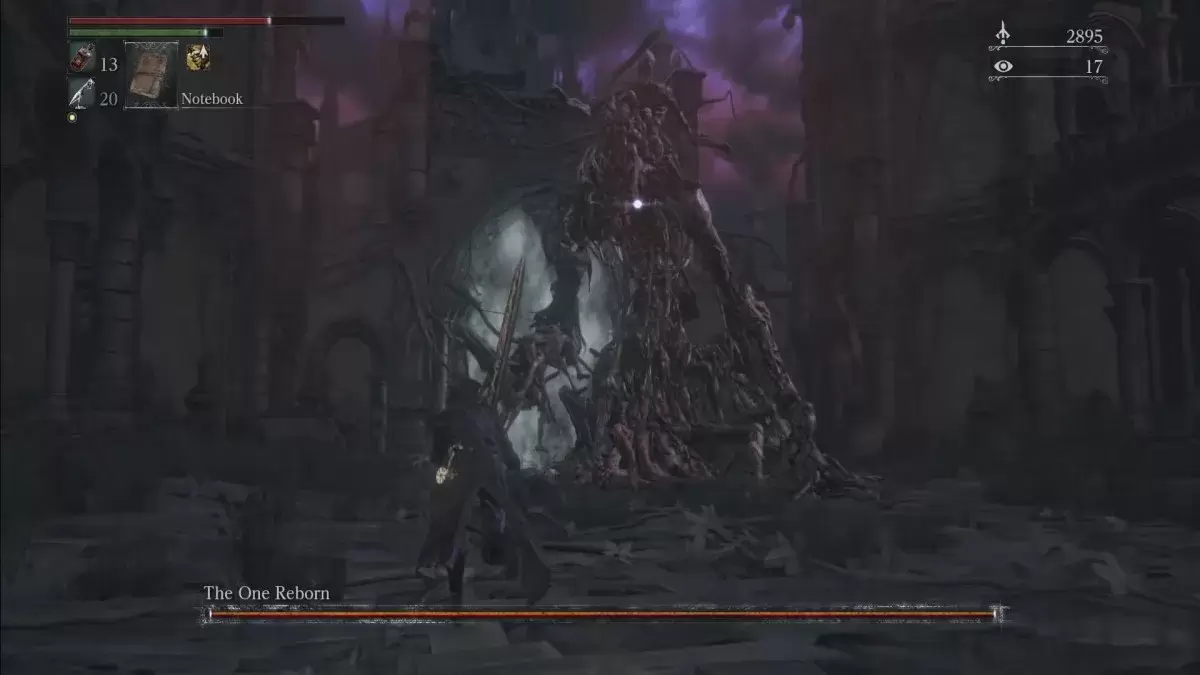
Image via FromSoftware
Area: Yahar’gul Unseen Village
The One Reborn uses physical and magical attacks. Maintain distance, dodge when it raises its arms, and quickly attack when it's down. Also, deal with the smaller enemies it summons.
Martyr Logarius (Optional)

Image via FromSoftware
Area: Forsaken Castle Cainhurst
Martyr Logarius is challenging due to his Arcane damage. Parrying him effectively is key to dealing significant damage, though mastering the timing can be difficult.
Amygdala (Optional)
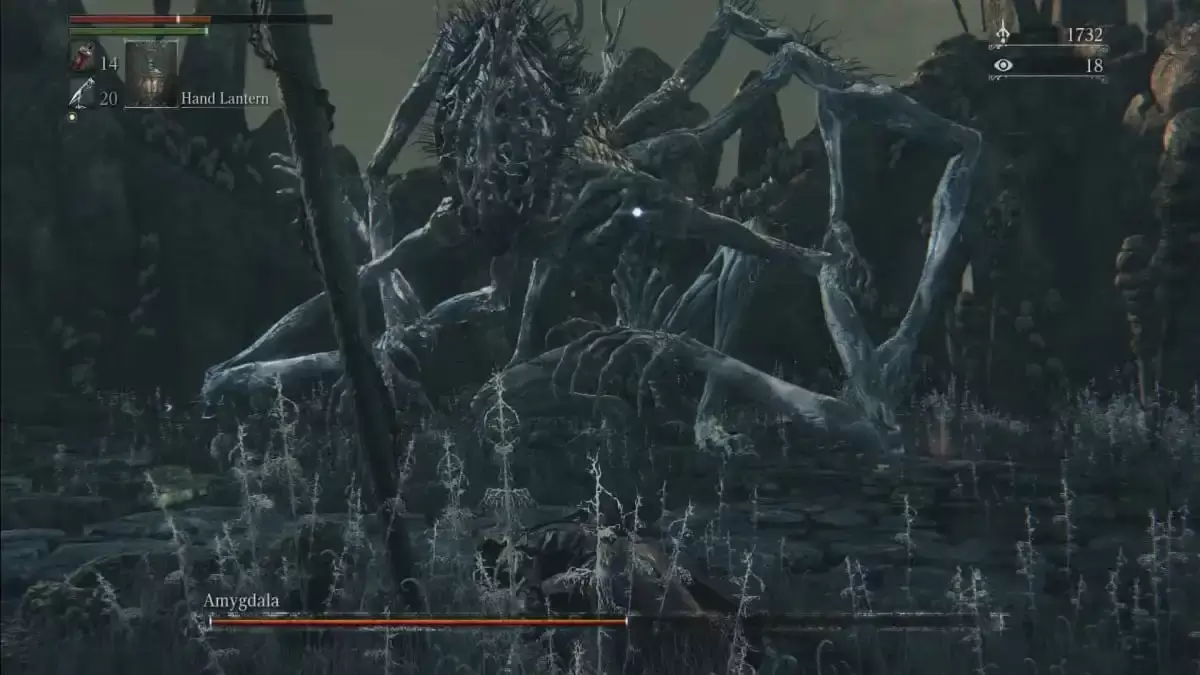
Image via FromSoftware
Area: Nightmare Frontier
Amygdala, a massive creature with tentacles, is tough due to her size and reach. Be prepared for her varied attacks that can quickly deplete your health.
Celestial Emissary (Optional)
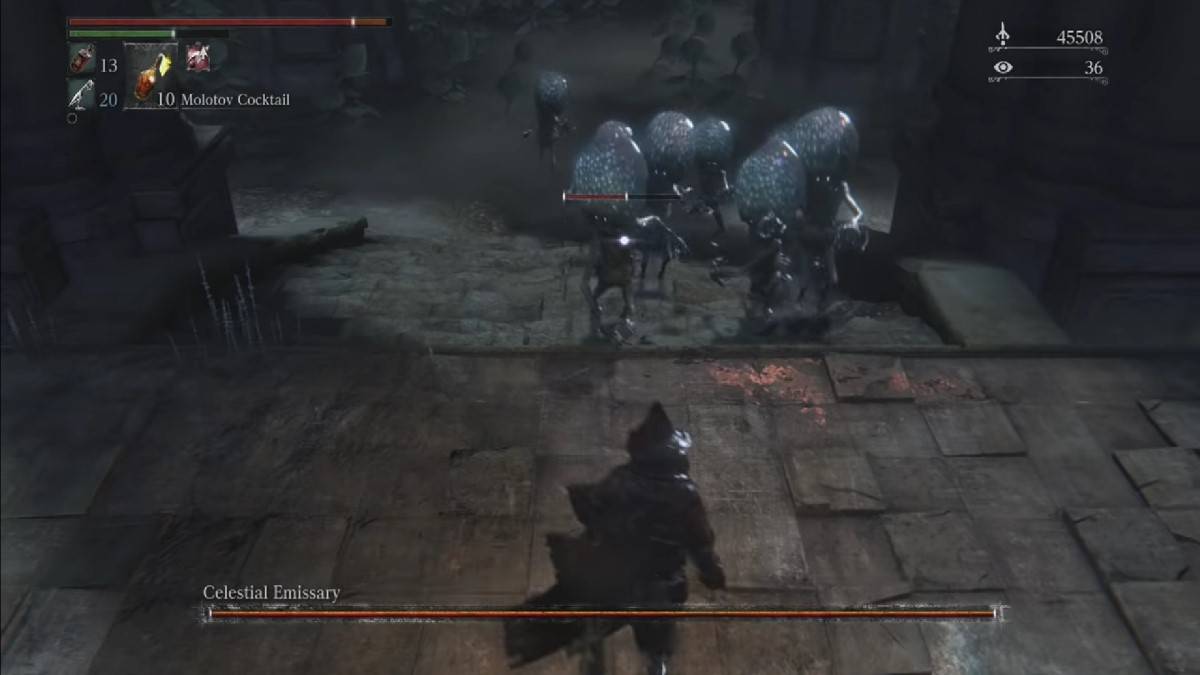
Image via FromSoftware
Area: Upper Cathedral Ward
The Celestial Emissary is fast and uses arm swings to attack. Roll towards its legs to avoid damage and counterattack. Be cautious of its grabbing attack even when it's down.
Micolash, Host of the Nightmare
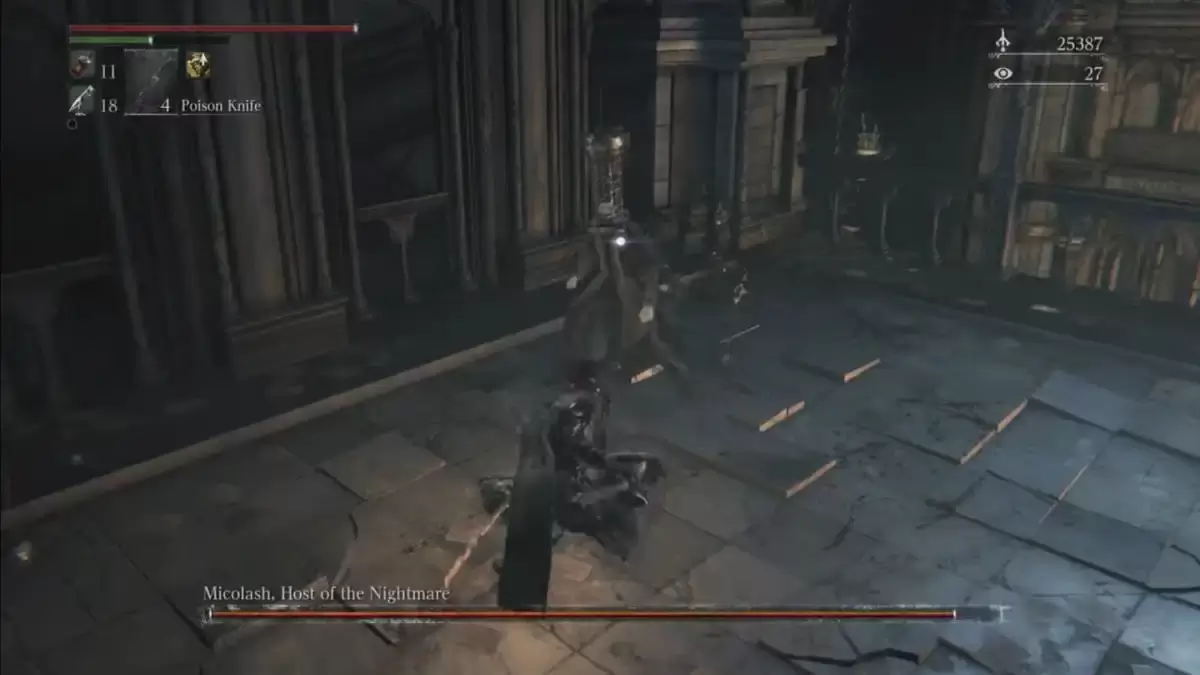
Image via FromSoftware
Area: Nightmare of Mensis
Micolash requires chasing him around his arena, dealing with magical fog and summoned underlings. Once cornered, his attacks are potent, but you can use poison knives to defeat him.
The Old Hunters Bosses
The Old Hunters DLC bosses follow a linear progression. After defeating Ludwig, retrieve Laurence’s Skull to fight Laurence, the only optional boss. Then, face Living Failures, Lady Maria, and the Orphan of Kos, all of which are challenging.
Ebrietas, Daughter of the Cosmos (Optional)
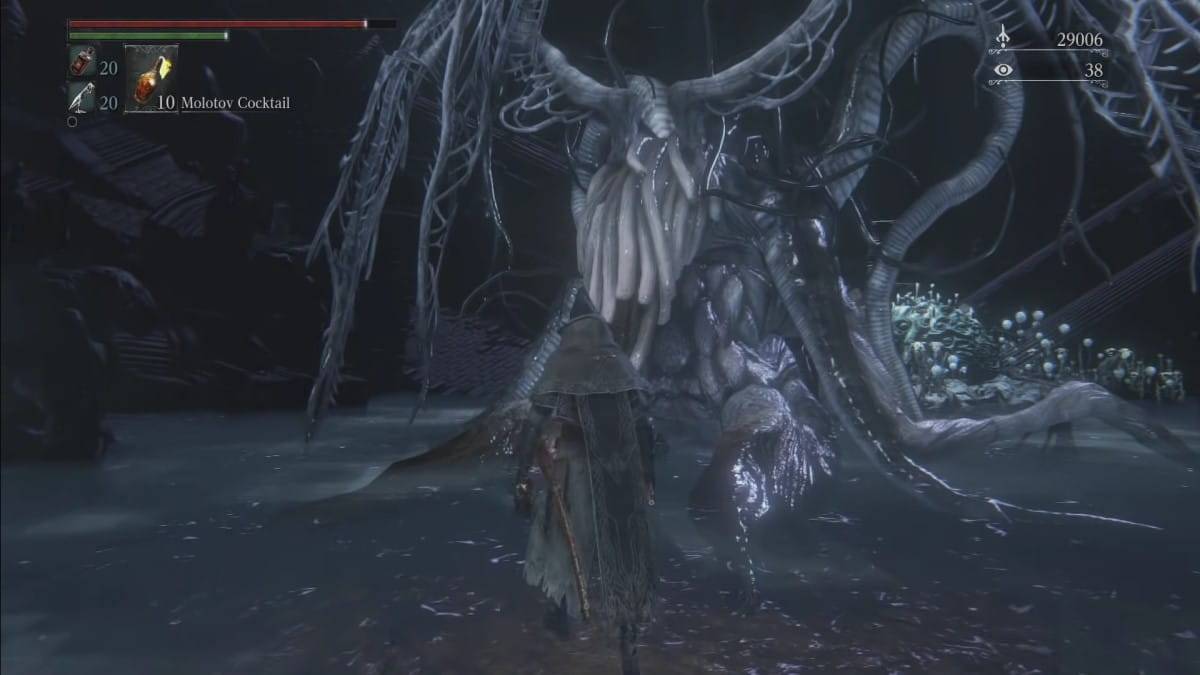
Image via FromSoftware
Area: Altar of Despair
Ebrietas uses tentacles and magical attacks. Watch out for her head-slamming attack, which can deal massive damage.
Mergo’s Wet Nurse
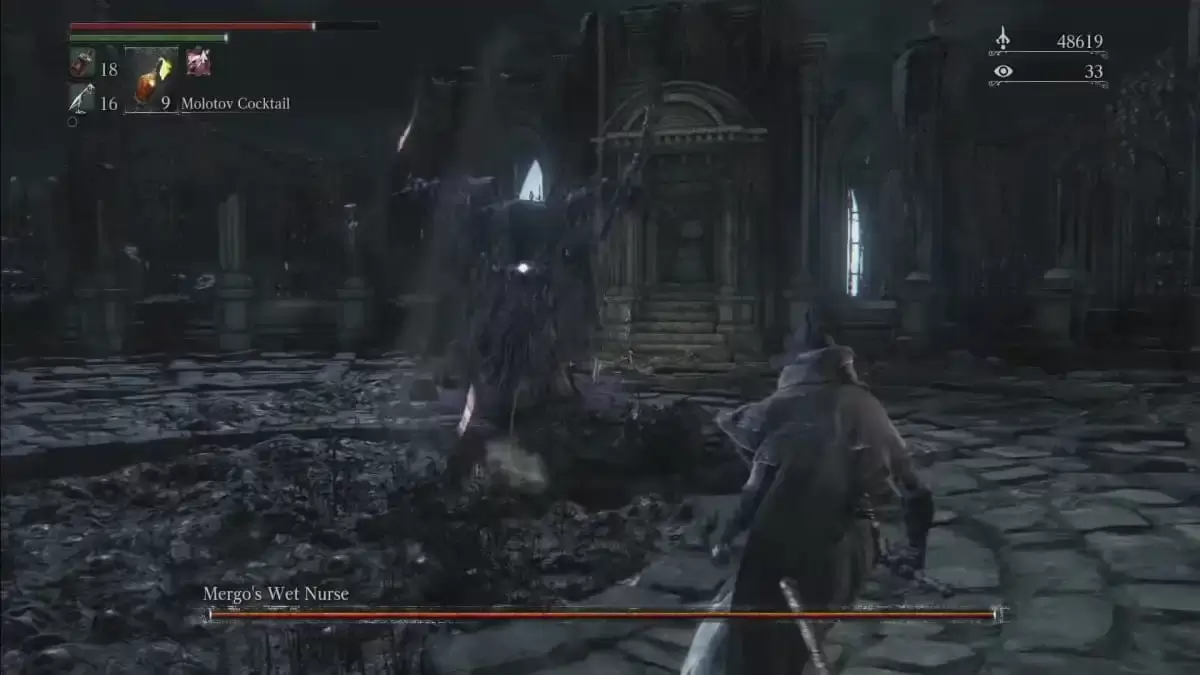
Image via FromSoftware
Area: Nightmare of Mensis
Mergo’s Wet Nurse uses tentacles and fast-moving water projectiles. She'll also use fog to obscure your vision. Focus on dodging during the fog phase. After defeating her, complete any remaining tasks before proceeding to the endgame.
Gehrman, the First Hunter
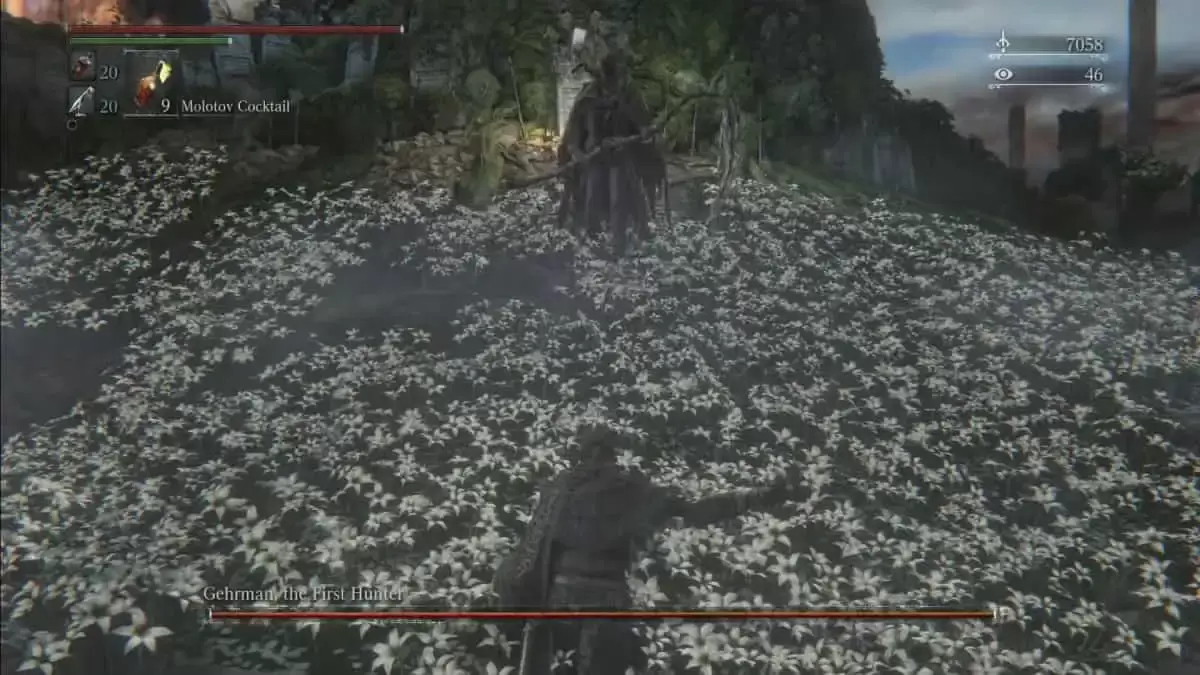
Image via FromSoftware
Area: Hunter’s Dream
Gehrman, the final non-optional boss, uses a scythe and various firearms. Mastering parrying is essential to defeating him efficiently.
Moon Presence (Ending Specific)
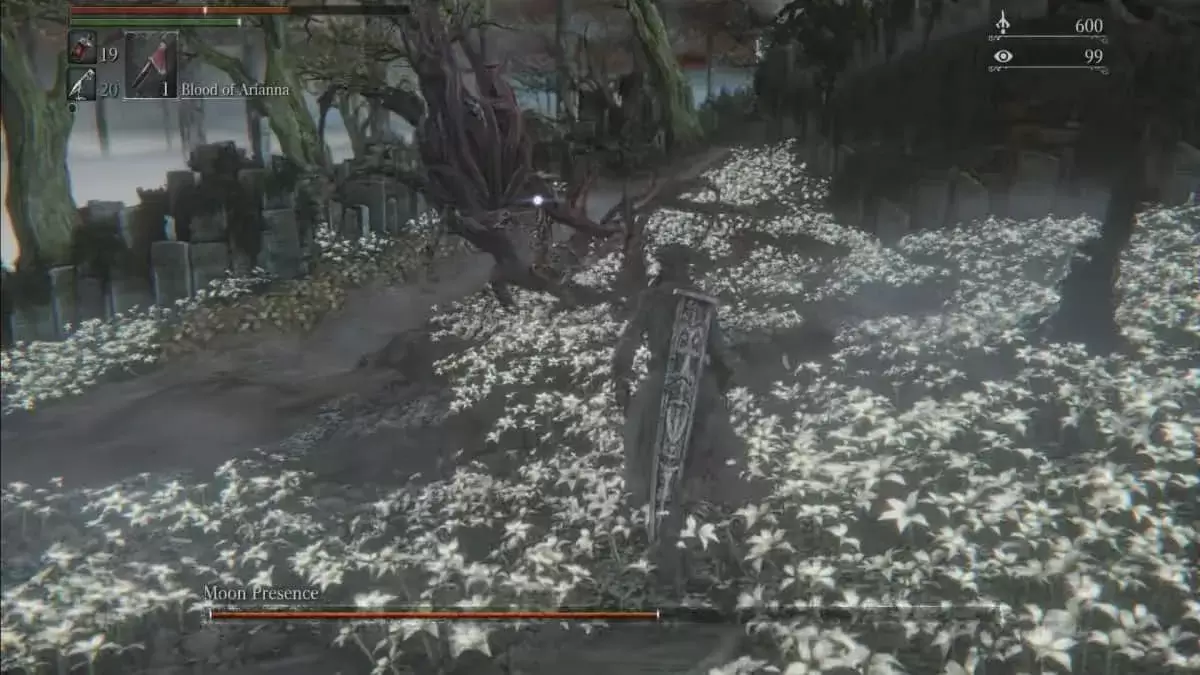
Image via FromSoftware
Area: Hunter’s Dream
To fight the Moon Presence, collect three of the four One Third of Umbilical Cords before facing Gehrman, and refuse his offer. The Moon Presence uses tails, claws, and orbs of darkness. While challenging, she's generally less difficult than Gehrman.
And that's the best Bloodborne boss order! For more on Bloodborne, explore our coverage on the fan-made PS1 demake, Bloodborne PSX, and other FromSoftware titles like Armored Core VI.
Related: How to Access the Hunter’s Nightmare for Bloodborne DLC on Attack of the Fanboy
Update: This article was updated on 2/3/2025 by Escapist Editorial to include more information about the various bosses, provide a high-level summary of the boss order, and to include the bosses from the Old Hunters DLC.
 LATEST ARTICLES