Quick LinksObtaining the Rail Gun in FortniteRail Gun Performance StatsThe Rail Gun, introduced in Fortnite Battle Royale during Chapter 2 Season 7, makes a comeback in Chapter 6 Season 1 with slightl
Author: LaylaReading:1
Unlock the Power of Translation in Google Chrome: A Comprehensive Guide
This guide provides a step-by-step walkthrough on how to effortlessly translate web pages using Google Chrome's built-in translation features. Learn how to translate entire pages, selected text, and customize your translation settings for a seamless multilingual browsing experience.
Step 1: Accessing the Settings Menu
Locate and click the Chrome menu icon (usually three vertical dots or three horizontal lines) in the upper right-hand corner of your browser window.
Step 2: Navigating to Settings
In the dropdown menu, select "Settings." This will open your browser's settings page.

Step 3: Locating Translation Settings
At the top of the settings page, you'll find a search bar. Enter "Translate" or "Languages" to quickly find the relevant settings.

Step 4: Accessing Language Settings
Once you've located the translation settings, click on the "Languages" or "Translation" option.
Step 5: Managing Languages and Translation Preferences
In the language settings, you'll see a list of supported languages. You can add, remove, or rearrange languages here. Crucially, ensure that the option to "Offer to translate pages that aren't in a language you read" is enabled. This will prompt Chrome to automatically offer translation for pages in languages other than your default.
By following these steps, you can fully leverage Google Chrome's translation capabilities and enjoy a more accessible and efficient online experience.
 LATEST ARTICLES
 25
2026-04
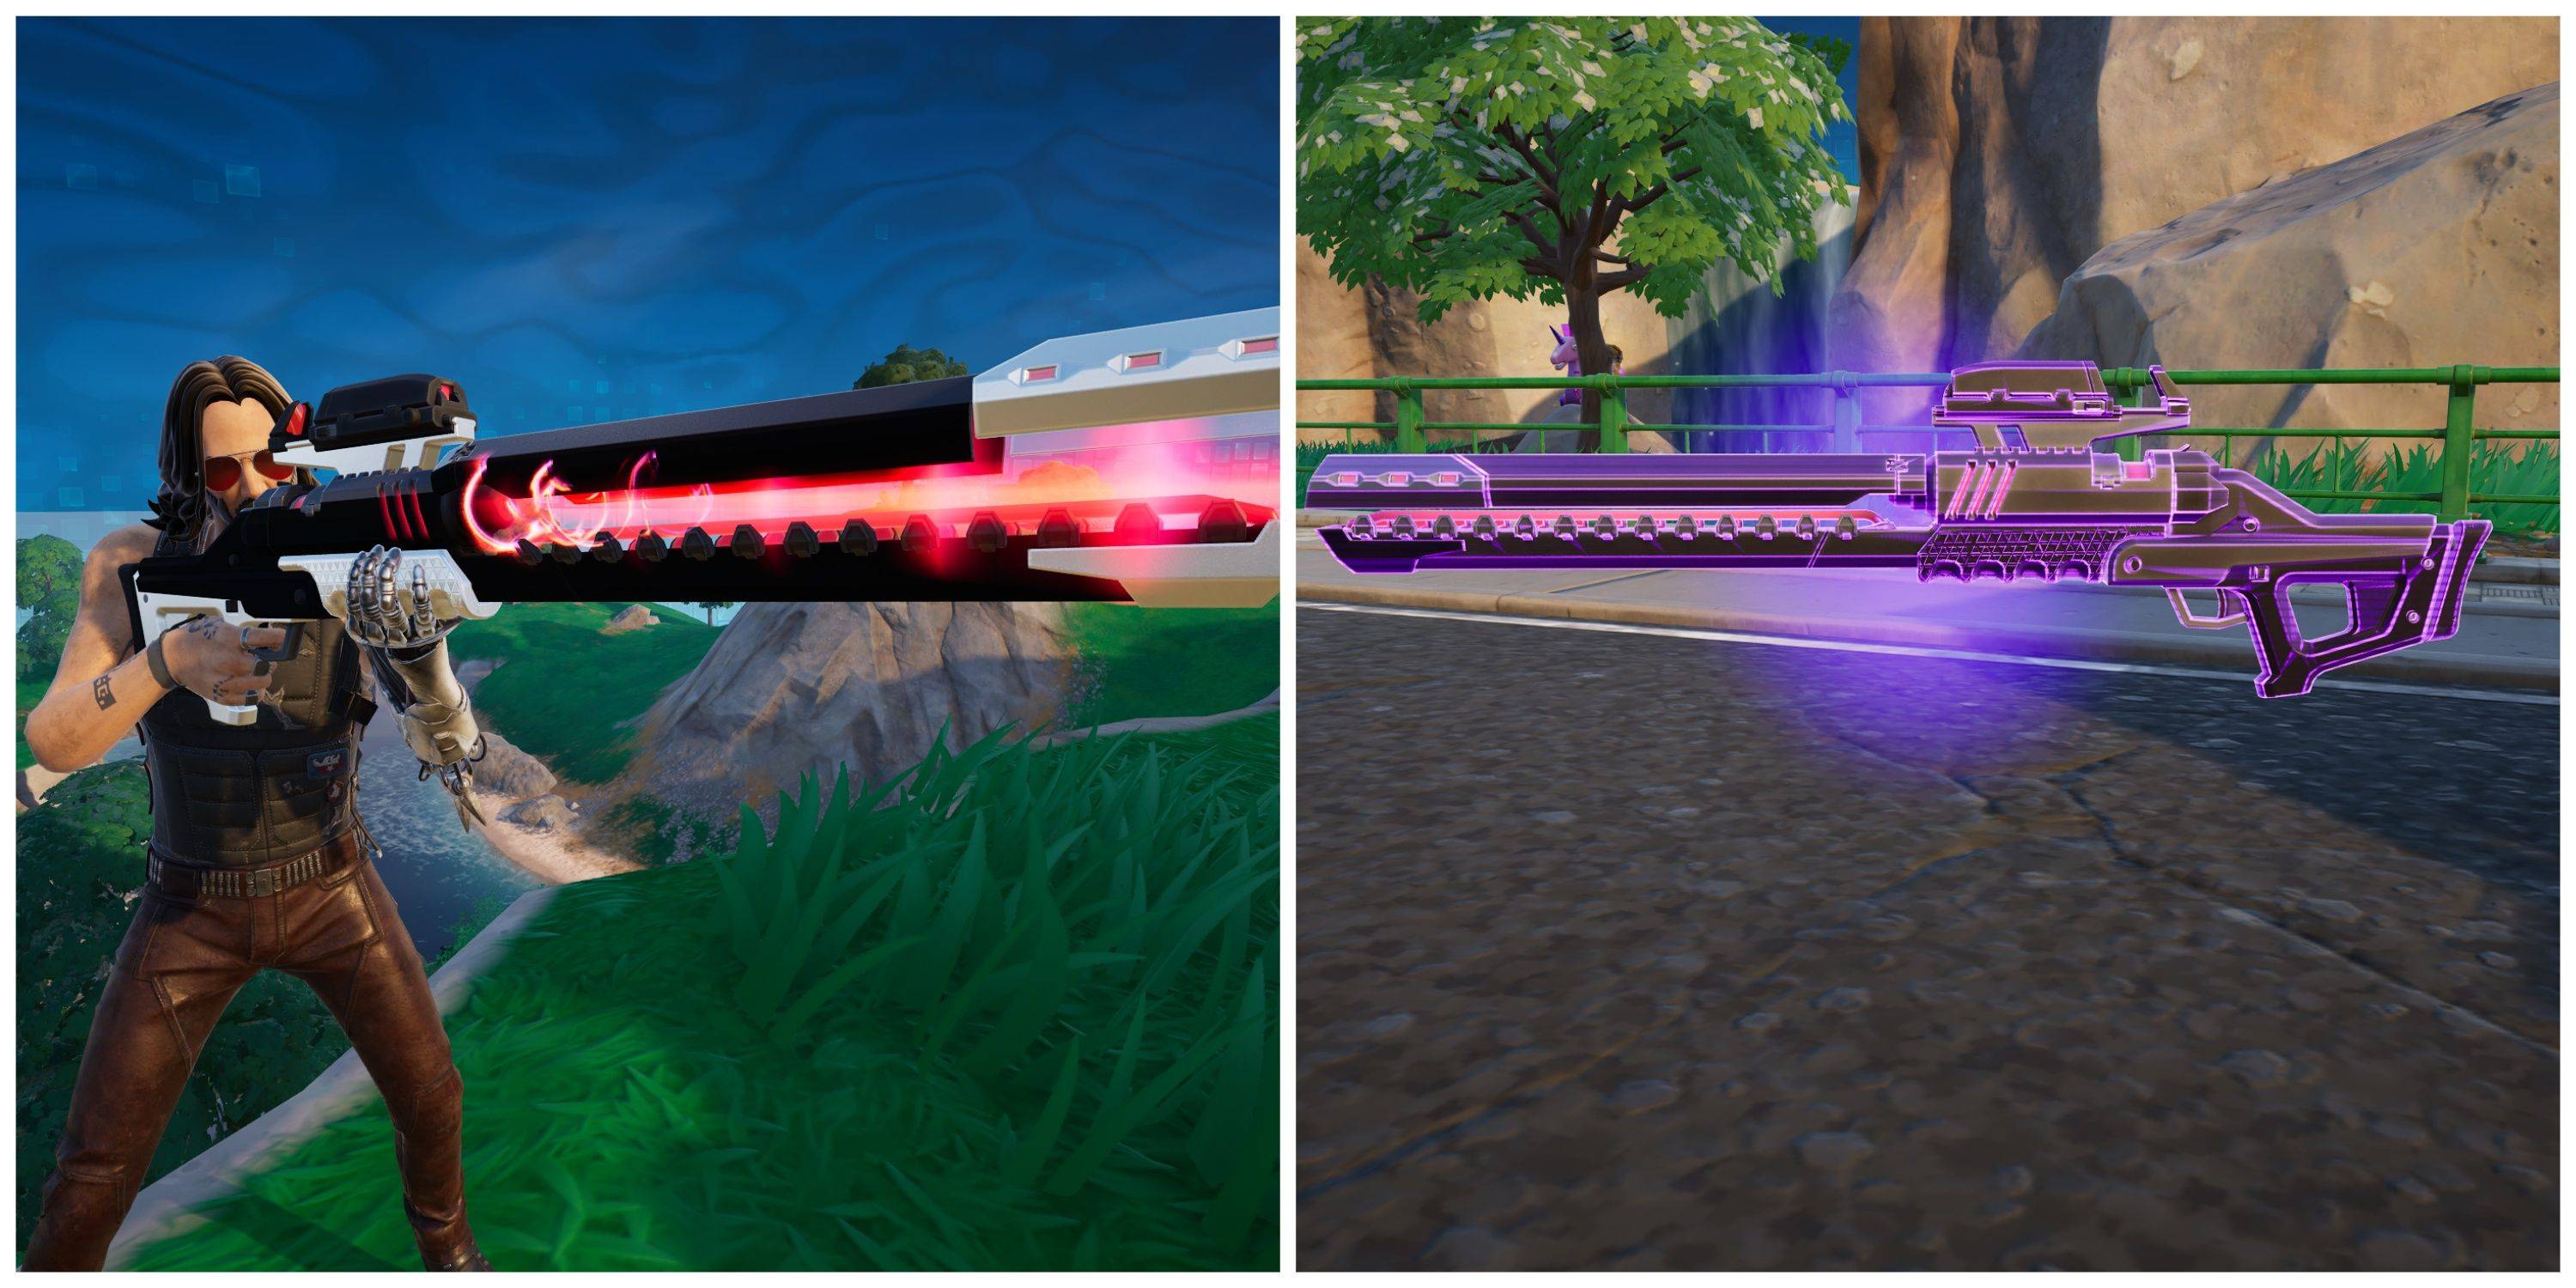
Quick LinksObtaining the Rail Gun in FortniteRail Gun Performance StatsThe Rail Gun, introduced in Fortnite Battle Royale during Chapter 2 Season 7, makes a comeback in Chapter 6 Season 1 with slightl
Author: LaylaReading:1
18
2026-04

Fishing Clash has launched a major in-game event that mirrors the thrilling climax of the 2025 Major League Fishing Bass Pro Tour season. Experience seven days of intense challenges on the waters of Saginaw Bay.Go after the big ones in Fishing Clash
Author: LaylaReading:7
15
2026-04
Newcomers can claim a free 5-star character of their preferenceGet early access to the game's newest storylineMeet Yuli, the latest playable character joining the battleGlohow has rolled out a major update for Black Beacon, introducing fresh story co
Author: LaylaReading:12
10
2026-04
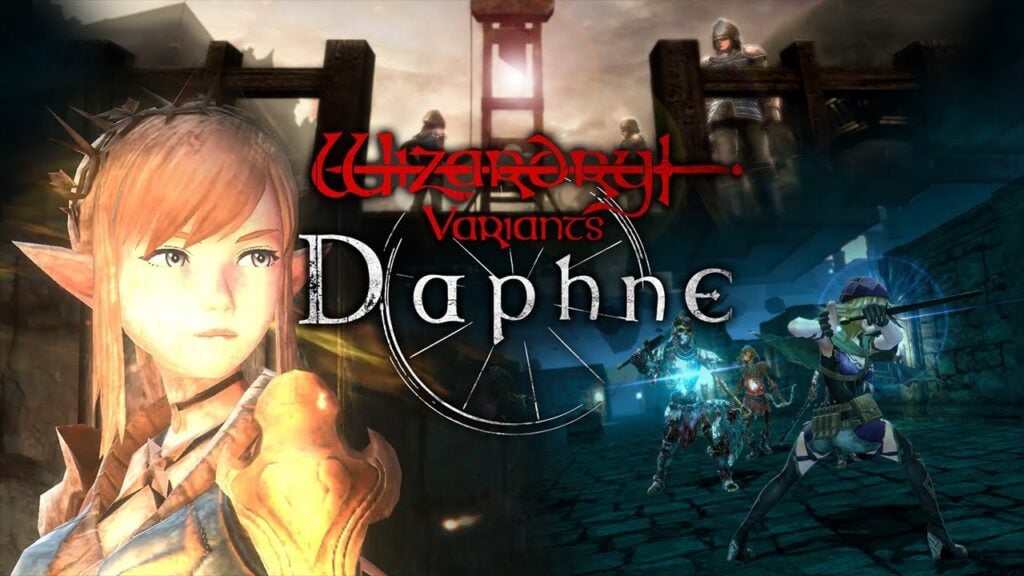
Drecom has launched its 3D dungeon RPG, Wizardry Variants Daphne, for mobile devices today. The Wizardry series dates back to 1981 and has profoundly shaped many of today's RPGs. It pioneered key features like party management, labyrinth exploration,
Author: LaylaReading:13